Mac Startup Disk Almost Full? Here’s How to Free Up Some Space!

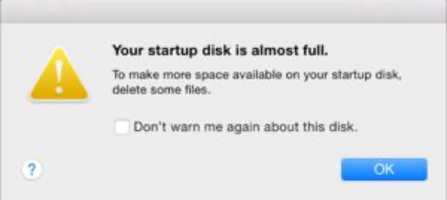
Chances are, if you use your Mac for long enough, you’ll see the message “Your startup disk is almost full” at some point or another. Knowing what the message means is essential before you can go about resolving the issue. Keep on reading to learn everything you need to know!
What happens if my Mac’s startup disk is full?
You will notice a significant decrease in performance. Ideally, your Mac’s startup disk should never get above 85% full. If it does, you will almost certainly perceive a difference in its responsiveness.
My Mac’s startup disk is full. What can I do?
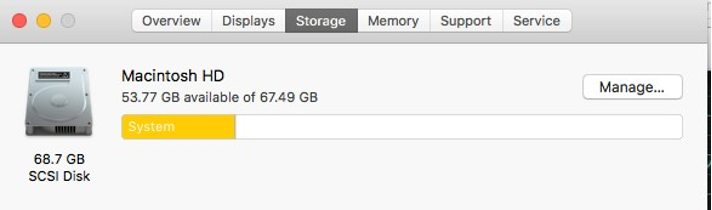
First things first, you need to find out exactly what is taking up all the space on your startup disk. Here’s how you can do it:
- Click on the Apple icon in the top-left hand corner of your screen.
- Select About This Mac.
- Click Storage.
Note: On older versions of macOS, you may have to first click More Info… and then Storage.
You will see a breakdown of what is taking up space on your Mac’s hard drive.
How to fix full startup disk on Mac
There are three ways you can resolve the issue. They are:
- Delete unused files/applications from your Mac.
- Move files to an external hard drive or cloud storage.
- Install a second internal hard drive on your Mac.
Even if you opt for transferring files or installing a new hard drive, having a good spring clean and deleting unused files is usually a great idea, too. Here are some of the best ways to go about doing it:
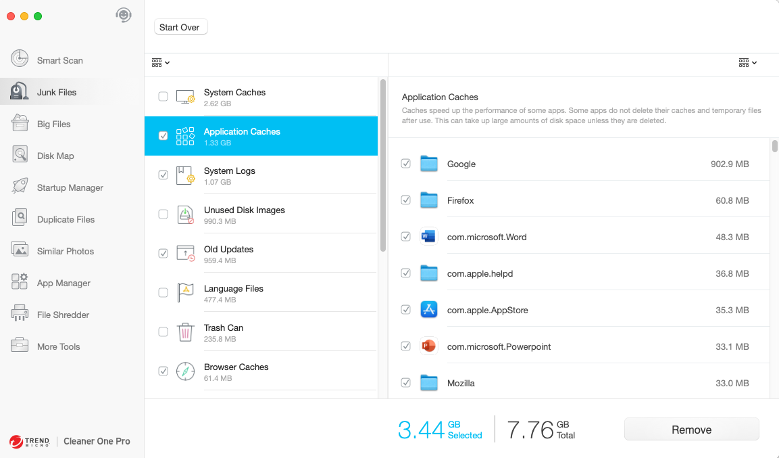
#1 — Clear cache files
Cache files help the programs on your Mac run more efficiently. However, as you install and use more and more programs, these cache files can begin to take up an unreasonably large amount of storage space — especially because you probably aren’t using every program installed on your Mac. So, from time to time it’s a great idea to purge your Mac of these cache files and start fresh.
Unfortunately, there is no built-in, global way to delete cache files on macOS, but you can use a disk cleaning app like Cleaner One Pro or CleanMyMac X to clear them in a few quick clicks.
If you would rather not use a disk cleaning app, you can still delete cache files, but you will need to do it separately in every app. If you’re not sure how to clear the cache of a particular app, you’ll need to search for the instructions on the app’s official website.
#2 — Remove unused apps
If you were to take a look at how many apps are installed on your Mac, you would most likely be quite surprised to see at least a few that you don’t even remember installing, and a decent amount that you effectively never use. Here’s how you can use Finder to delete them and free up some space:
1. Open Finder and select the Applications folder from the sidebar.
2. Locate the app you wish to remove.
3. Drag and drop the app to the Trash icon.
4. To permanently delete the app, select Finder > Empty Trash.
#3 — Delete unwanted photos
Taking lots of photos is great. They’re the perfect way to capture all your great memories. However, if you’re a little too shutter-happy, your Mac can quickly become overrun with too many photos. Here’s how you can delete the ones you don’t want to keep from Photos:
1. Open Photos.
2. To delete a single photo, right-click on it and select Delete.
3. If you want to delete several photos, you can hold down Shift to select a range of photos. Right-click on one of them and select Delete.
4. Confirm that you wish to delete the photos.
5. To permanently delete the photos, empty the Trash.
#4 — Clean up your Downloads, Music, and Movies folders
These folders can harbor some really big files (especially Movies!), so if you’re looking to reclaim some storage space, these are three that you should definitely pay some attention to. The process for cleaning up these folders is very similar to what is outlined in the two tips above, so after following those steps you’ll be able to easily give these folders a good spring clean, too.
#5 — Take out the Trash from time to time
You’ve probably noticed that we’ve mentioned emptying Trash several times in this article, and it’s for a good reason! Anything that you move to Trash isn’t actually removed from your Mac (and the storage space reclaimed) until you’ve emptied the Trash folder! Many people don’t realize this, but it’s super important when trying to save some storage space on your Mac.
Enjoyed this article?
Then why not check out these?
Best Antivirus for Mac 2022
The Best Mac App Cleaner & Uninstaller 2022
How to Solve Your Most Common MacOS Monterey Issues
